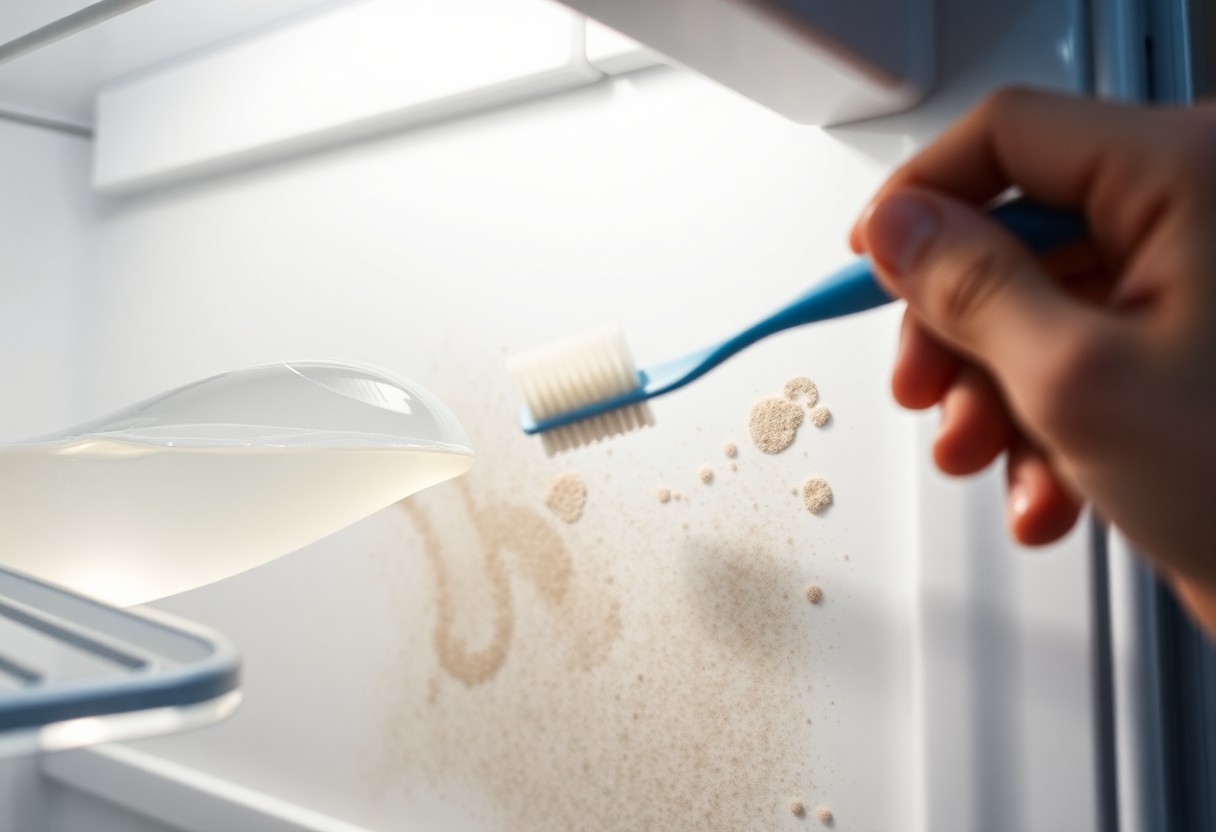
There’s nothing more frustrating than discovering mold on your refrigerator gasket, which can pose health risks and affect your food’s freshness. Fortunately, you can tackle this issue effectively by following a few simple steps. In this guide, you’ll learn how to safely remove mold and maintain a clean, functional seal, ensuring your refrigerator operates at its best.
Key Takeaways:
- Use a mixture of warm water and mild detergent to clean the gasket thoroughly.
- Rinse and dry the gasket completely to prevent moisture accumulation.
- Regularly inspect and clean the gasket to prevent future mold growth.
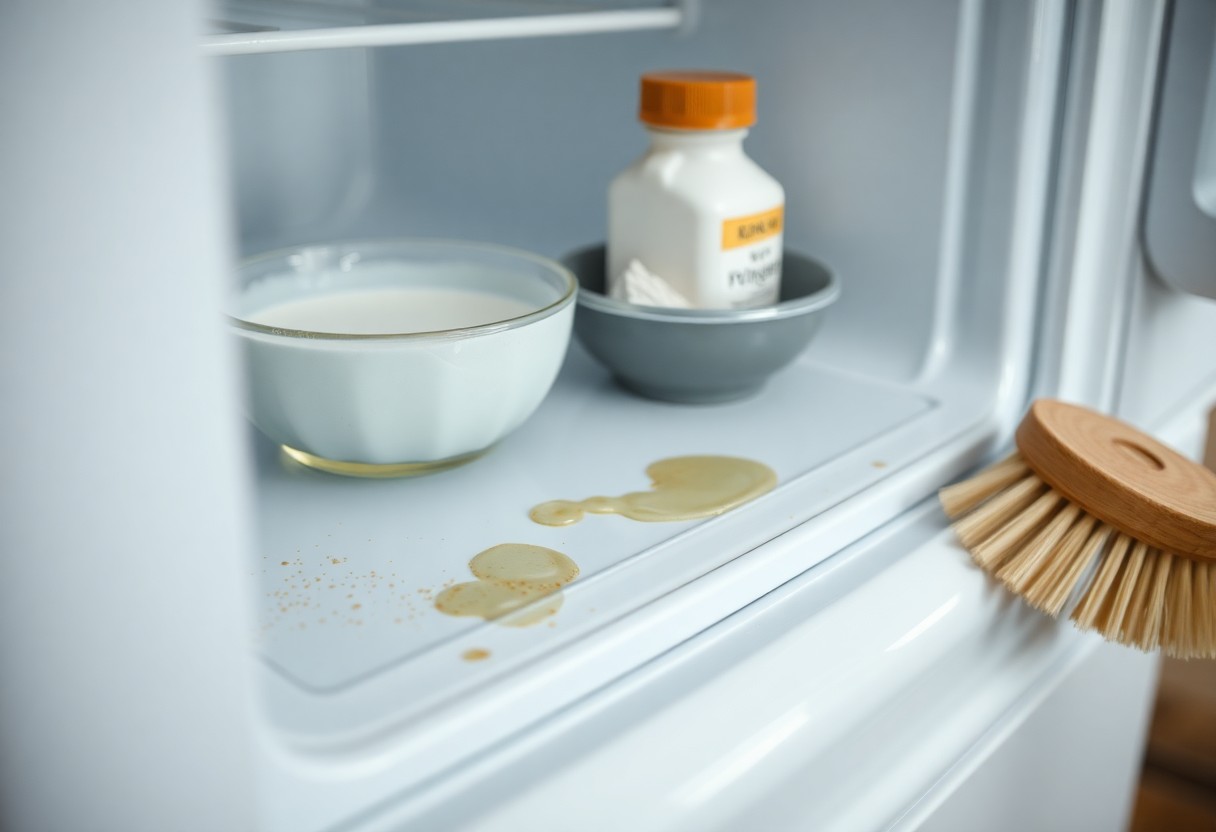
Identifying Mold Growth in Your Refrigerator Gasket
Spotting mold growth in your refrigerator gasket is vital for maintaining both hygiene and appliance efficiency. Mold typically appears as black spots, green patches, or a fuzzy texture. The presence of musty odors within the refrigerator may also indicate mold growth. Regular inspections can help you catch problems early, ensuring your food remains safe and your appliance runs smoothly.
Signs of Mold Presence
Detecting mold in your refrigerator gasket can be indicated by a few key signs. Look for visible discoloration around the gasket edges, along with strange odors emanating from your refrigerator. If you notice any moisture accumulation or a sticky texture on the gasket, consider these clues as potential signs of mold invasions.
Different Types of Mold to Be Aware Of
Several types of mold may appear in your refrigerator gasket, with varying degrees of risk. Aspergillus can produce harmful toxins, while Cladosporium and Penicillium can sometimes lead to allergic reactions. Black mold, specifically Stachybotrys, is particularly hazardous and poses serious health risks. Always inspect your appliance for any type of mold to maintain a healthy environment.
| Type of Mold | Health Risks |
| Aspergillus | Can produce toxins |
| Cladosporium | May cause allergies |
| Penicillium | Possible allergic reactions |
| Black Mold (Stachybotrys) | Serious health hazards |
Aside from the types listed, yeast and mildew can also develop in damp areas, contributing to unsanitary conditions. Yeast may manifest as a slimy texture, while mildew often appears as a powdery growth. Both can cause irritation or allergic response in sensitive individuals. Assume that ignoring mold can lead to larger issues, so proactive measures should always be taken.
- Inspect your gasket regularly for discoloration.
- Note any strange odors coming from your refrigerator.
- Be aware of different mold types that could pose risks.
- Maintain dry conditions to avoid mold growth.
- Assume that addressing mold early can prevent bigger problems.
| Mold Type | Color and Texture |
| Aspergillus | Green or yellow, powdery |
| Cladosporium | Dark green or black, cottony |
| Penicillium | Blue or green, velvety |
| Black Mold | Black, slimy or fuzzy |
- Identify colors and textures of mold.
- Familiarize yourself with various types.
- Keep an eye out for potential health hazards.
- Maintain cleanliness to reduce chances of mold.
- Assume that prompt action is vital for health in the home.
Essential Cleaning Supplies for Effective Mold Removal
To tackle mold on your refrigerator gasket, having the right cleaning supplies is key. Gather white vinegar, which acts as a natural disinfectant, baking soda for abrasive scrubbing, and water for diluting solutions. You’ll also need a scrub brush or an old toothbrush for precise cleaning, as well as a soft cloth for drying. If desired, rubber gloves can protect your hands from harsh substances.
Household Items That Work Wonders
Common household items like vinegar and baking soda prove remarkably effective against mold. A mix of one part vinegar to one part water can serve as a potent spray to eradicate mold spores. Baking soda, when used as a paste, can scrub away stubborn mold without scratching the gasket surface. This approach ensures a thorough clean using safe and affordable ingredients.
Specialty Cleaners: When to Use Them
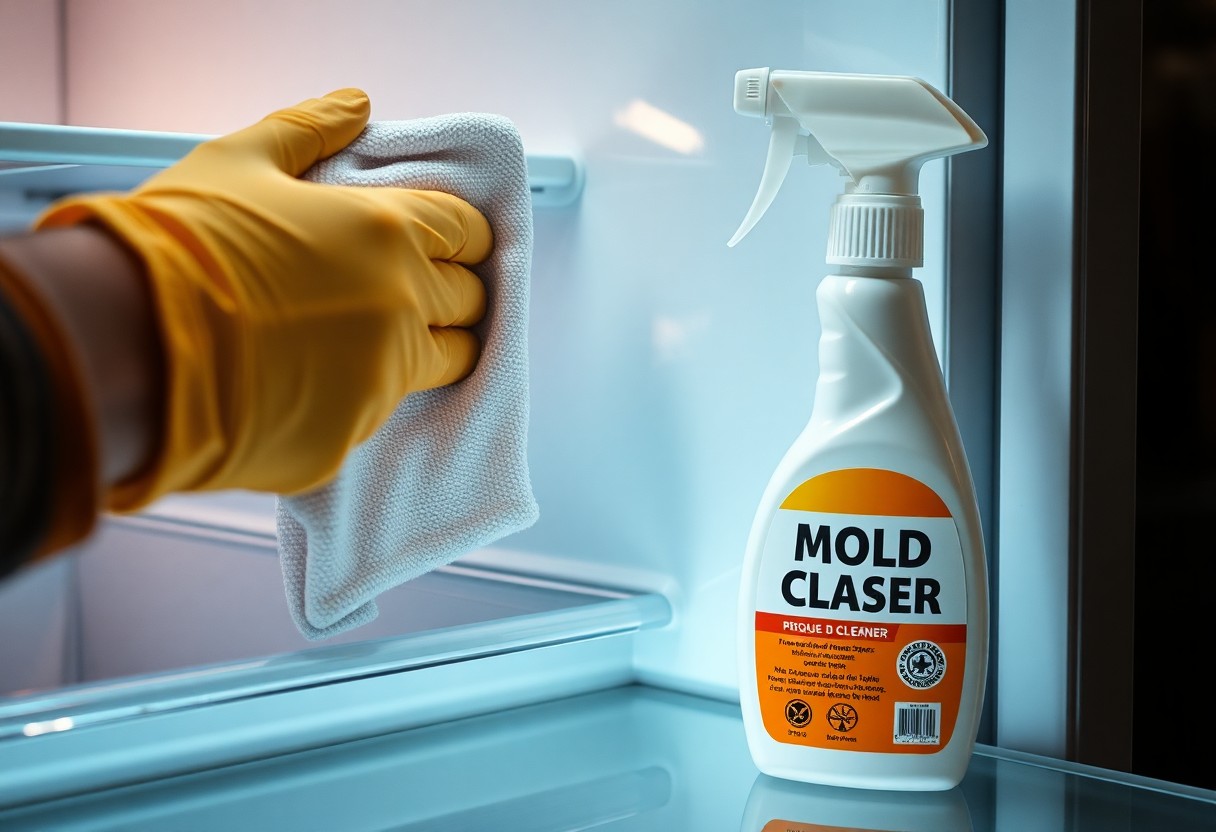
Sometimes, household items fall short against tough mold infestations. In such instances, specialty cleaners specifically designed for mold removal may be necessary. Look for products labeled as mold and mildew removers, which often contain powerful ingredients like chlorine bleach or hydrogen peroxide. These solutions can provide a deeper clean, especially in cases of persistent mold growth.
Utilizing specialty cleaners may be the best course when dealing with extensive mold buildup, as they often contain potent fungicides that target the roots of the problem. Make sure to follow the product instructions carefully to ensure safe and effective use, as improper application can lead to harmful vapors or damage to your gasket. Always test a small, inconspicuous area first to avoid discoloration or deterioration of the rubber material.
A Step-by-Step Guide to Cleaning Your Refrigerator Gasket
| Step | Description |
| 1 | Gather your cleaning supplies and tools. |
| 2 | Disconnect power to your refrigerator for safety. |
| 3 | Apply the cleaning solution to the gasket. |
| 4 | Scrub the gasket thoroughly with a soft brush or cloth. |
| 5 | Rinse the gasket with clean water and dry it properly. |
Preparing Your Workspace and Gasket
Clear the area around your refrigerator to create a safe workspace. Disconnect the refrigerator to prevent any electrical hazards. Inspect the gasket for any loose debris or visible mold before cleaning. Ensure you have all cleaning supplies within reach to avoid interruptions during the process.
The Cleaning Process: Techniques That Work
Using a mixture of warm water and mild detergent, apply the solution to the gasket using a soft cloth or sponge. Avoid abrasive materials that can damage the gasket. For tough mold spots, a paste of baking soda and water can be effective. Be sure to scrub gently to lift the mold without causing harm to the gasket’s integrity.
After applying the cleaning solution, let it sit for several minutes to penetrate the mold. Use a soft-bristled brush to work the solution into the gasket’s crevices. A toothbrush works well for stubborn areas. Rinse thoroughly with clean water to remove any residue, then dry the gasket completely to prevent mold from returning. Regular maintenance of the gasket can help keep mold at bay and prolong its lifespan.
Preventive Measures: Keeping Mold at Bay
Proactive steps ensure that mold doesn’t become a persistent problem for your refrigerator gasket. Maintaining a clean and dry environment, ensuring proper airflow, and conducting regular inspections are crucial strategies. Keeping humidity levels low and promptly addressing spills will significantly minimize mold growth. Regularly check for any signs of wear or damage to the gasket, as these can trap moisture, creating a breeding ground for mold. For ongoing protection, consider using a dehumidifier in humid climates.
Regular Maintenance Procedures
Implementing a routine maintenance schedule can be the difference between a clean gasket and a mold-infested one. Weekly, wipe down the gasket with a damp cloth and a mild cleaning solution. Pay attention to the grooves where dirt and moisture often accumulate. Additionally, every month, remove the gasket for a deeper clean to prevent any buildup that could lead to mold growth. Frequent attention to these procedures fosters a healthier refrigerator environment.
Environmental Factors to Monitor
Humidity and temperature fluctuations play significant roles in creating conditions favorable for mold. Ideally, your refrigerator should maintain a temperature between 34°F and 40°F. Regularly monitoring indoor humidity levels is vital, as levels above 60% can promote mold growth. Ensure proper ventilation around your refrigerator, allowing cool air to circulate effectively. Keep food sealed and minimize excess moisture that can cause mold to develop. Perceiving these environmental factors can help you take immediate action when necessary.
- Humidity control is crucial; aim to keep it below 60%.
- Temperature within your refrigerator should range from 34°F to 40°F.
- Ventilation surrounding your refrigerator is important for preventing moisture buildup.
- Sealing food tightly reduces the risk of moisture accumulation.
- Regular inspections help catch mold growth early.
Pay attention to signs of excess moisture, such as condensation on the fridge walls or pooling liquids at the bottom. Assess the humidity levels regularly, especially during humid seasons, to prevent the potential for mold development. In addition, be aware of any leaks from your appliance or nearby sources that might contribute moisture. Perceiving these environmental factors can save you from extensive cleaning efforts down the line.
- Condensation can indicate high humidity is present.
- Leaks from your fridge may create favorable mold conditions.
- Food spoilage might signal temperature inconsistencies.
- Moist air can accumulate from surrounding areas.
- Dust accumulation can inhibit proper airflow.
The Health Implications of Ignoring Mold
Mold growth on your refrigerator gasket can lead to various health issues, particularly for sensitive individuals. Ignoring mold not only creates an unclean environment but also increases the risk of respiratory problems and allergic reactions. Exposure to mold spores can trigger asthma attacks or cause symptoms such as sneezing, coughing, and skin irritation. Ensuring your refrigerator remains mold-free is imperative for the well-being of everyone in your household.
Potential Risks to Your Health
Exposure to mold can be particularly hazardous for children, the elderly, and those with preexisting health conditions. Mold spores can aggravate breathing issues or lead to sinus infections. People with weakened immune systems may find it more challenging to fight off infections caused or exacerbated by mold exposure, leading to serious complications. Proactively addressing mold growth protects your health and that of your loved ones.
Impact on Food Safety and Quality
The presence of mold not only compromises your health but also jeopardizes the safety and quality of your food. Mold can spread rapidly, potentially contaminating nearby food items and making them unsafe to consume. Mold-infested areas can release harmful toxins into the air or onto food, leading to foodborne illnesses that can cause gastrointestinal distress and other health issues.
Food safety is paramount, as mold can produce mycotoxins that may lead to serious health consequences if ingested. For instance, aspergillus mold can produce aflatoxins, which are potent carcinogens. Regularly inspecting and cleaning your refrigerator’s gasket keeps mold at bay, ensures the freshness of your food, and protects you from the risks associated with spoiled or contaminated items. Maintaining a clean environment minimizes the likelihood of cross-contamination and contributes to a healthier kitchen overall.
Conclusion
Hence, by following the proper steps to clean mold from your refrigerator gasket, you ensure a safe and hygienic environment for your food. Regular inspections and maintenance make it easier to tackle any mold growth early on. Use a combination of warm, soapy water and a scrubbing tool to effectively remove dirt and mold. After cleaning, make sure to dry the gasket thoroughly to prevent future growth. Implementing these practices not only prolongs the life of your refrigerator but also maintains the quality of your stored items.
FAQ
Q: What materials do I need to clean mold from a refrigerator gasket?
A: You will need white vinegar or a mixture of baking soda and water, a soft cloth or sponge, a toothbrush, and possibly a mild dish soap.
Q: How often should I check my refrigerator gasket for mold?
A: It is recommended to check the gasket for mold at least once a month to ensure cleanliness and proper sealing.
Q: Can I use bleach to clean the refrigerator gasket?
A: No, using bleach can damage the gasket material. It is better to use vinegar or baking soda solutions for safe cleaning.
Q: What are the signs of mold buildup on the gasket?
A: Signs include visible black or green spots, a musty smell, or difficulty sealing when the door is closed.
Q: Is it necessary to remove the gasket for cleaning?
A: It is not necessary to remove the gasket, but if there is significant buildup, removing it may help reach all areas for a thorough clean.